Drill into timber, soft metal and hard materials including brick and concrete with the RYOBI 18V ONE+ Hammer Drill.
Checkout at Bunnings to calculate delivery or collect in-store
How to choose the right 18V ONE+ battery for your product and task. Read more.

Start typing in the search bar. Our autocomplete feature will provide relevant suggestions. Press 'tab' to accept an autocomplete suggestion.
Give your entrance or hallway a quick overhaul and add instant appeal with this dynamic upgrade. Step-by-step guide by Nick Compston.
Experienced DIY-er level.
NOTE: We recommend that before drilling into internal walls that you turn off the power to the that section of your home to avoid injury or damage.
Measure and cut the MDF moulding to size using your Mitre Saw (a mitre saw will deliver accurate and clean cuts better than a handheld circular saw if you’re new to DIY-ing).
TIP: If you are joining 2 or more lengths to extend on a larger wall, cut the connecting ends at 45 degrees to help disguise the join in the moulding.
Use a Laser Level to mark the desired height on the wall - in this case, 1200mm. Use a tape measure and lightly mark a pencil line on the wall if you don’t have laser level.

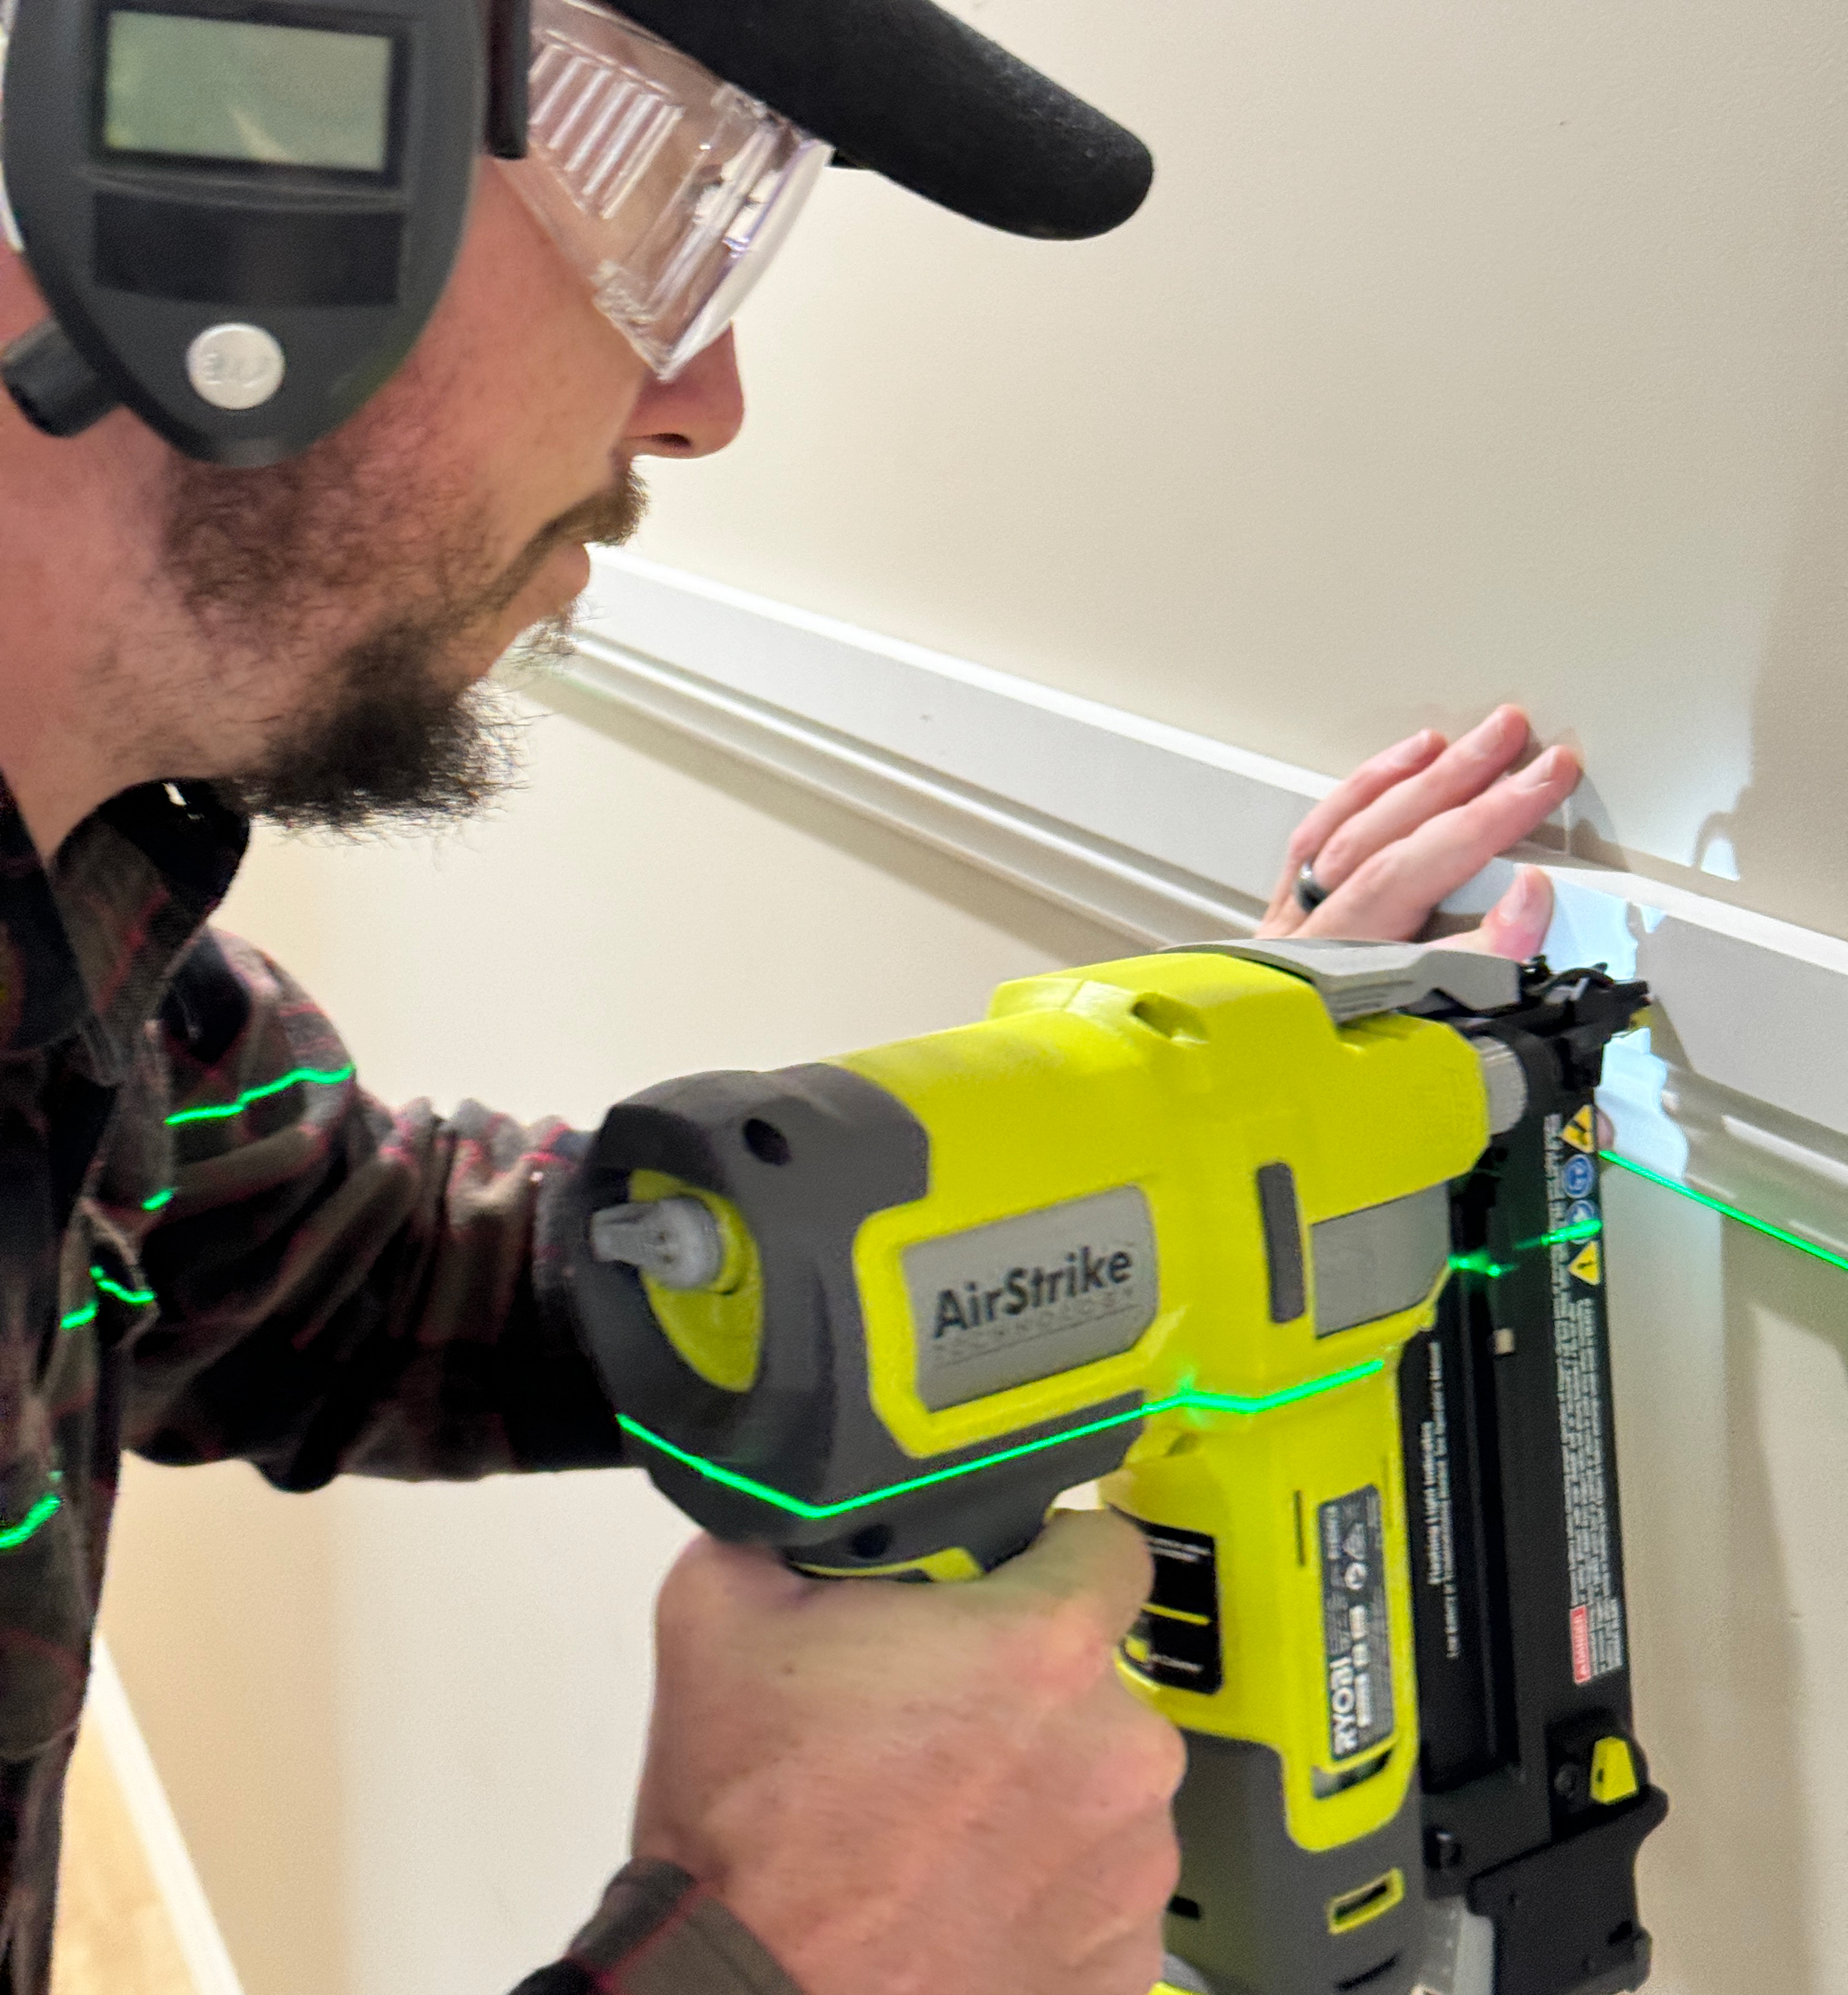
Apply timber construction-strength glue to the MDF moulding, then attach it to the wall along the laser level line, using your Brad Nailer or a hammer and small gauge nails.
Use your Mitre Saw to cut the rounded pine moulding to the desired height - in this case, 1200mm.
Space out the vertical mouldings at 400mm - cut a scrap piece of timber to this length to use as a spacer to ensure consistency in spacing.
Apply glue to the rounded pine moulding, use the 400mm spacer to place your moulding onto the wall and attach with your Brad Nailer or hammer and nails.
Patch any gaps and nail holes with a gap filler and allow to dry, then sand smooth.
An Orbital Sander with fine grit sandpaper will make this job a lot faster.
Finish off with paint of your choice.
Enjoy and show off your finished product!
Looking for inspiration, tips and ideas? Create a home that reflects your unique personality and taste.