


Push Mowers
36V 46cm Lawn Mower 4.0Ah Kit
| R36LMW24
$ 629.00
Adding a sturdy benchtop to your laundry – over cabinets or front loading washing machines and driers, can add valuable space to what is often one of the home’s smallest rooms. It shouldn’t be too daunting a task if you follow these steps.
Experienced DIY-er.
Pre-step: Have licensed plumber disconnect the water supply to the taps/spout if you are changing or relocating them in this project.
Step 1: Measure and mark the desired length of your new benchtop, using a T-square to ensure a straight line for cutting.
NOTE: There are many materials to choose from but it pays to have a waterproof one in the laundry.
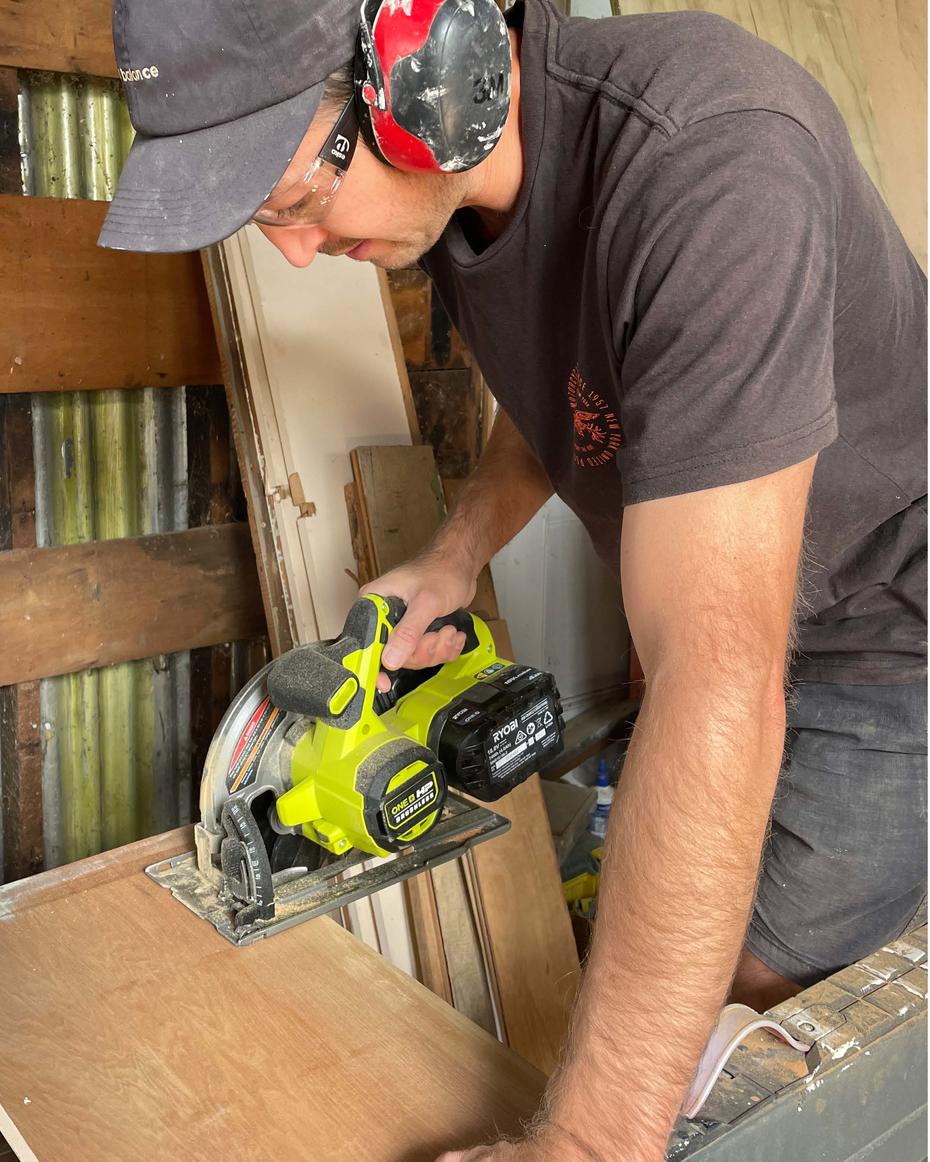
Step 2: Using your circular saw, cut along marked line.
TIP: one method to reduce chipping on the benchtop surface is to cut the benchtop upside down and cut through the front edge first.
Step 3: Prepare the cabinets for the benchtop install (you may need to add brackets to the cabinets to attach your benchtop to). Otherwise, using your drill, make a pilot hole through the top of your cabinets to make screwing in the benchtop easier.
Step 4: Place your cut benchtop into position. Using your impact driver, screw the benchtop into place.
Step 5: Once the benchtop has been fixed in place, using masking tape and your sink – put your sink upside down and mark out its position with the masking tape. From there, mark another line 10mm inside the lines - that is the line you will cut out.
Step 6: Using your drill, drill a hole big enough to get your jigsaw in place to start cutting out the sink hole.
TIP: Start with a smaller diameter drill bit then make the hole progressively larger until you can comfortably fit the jigsaw blade in it.
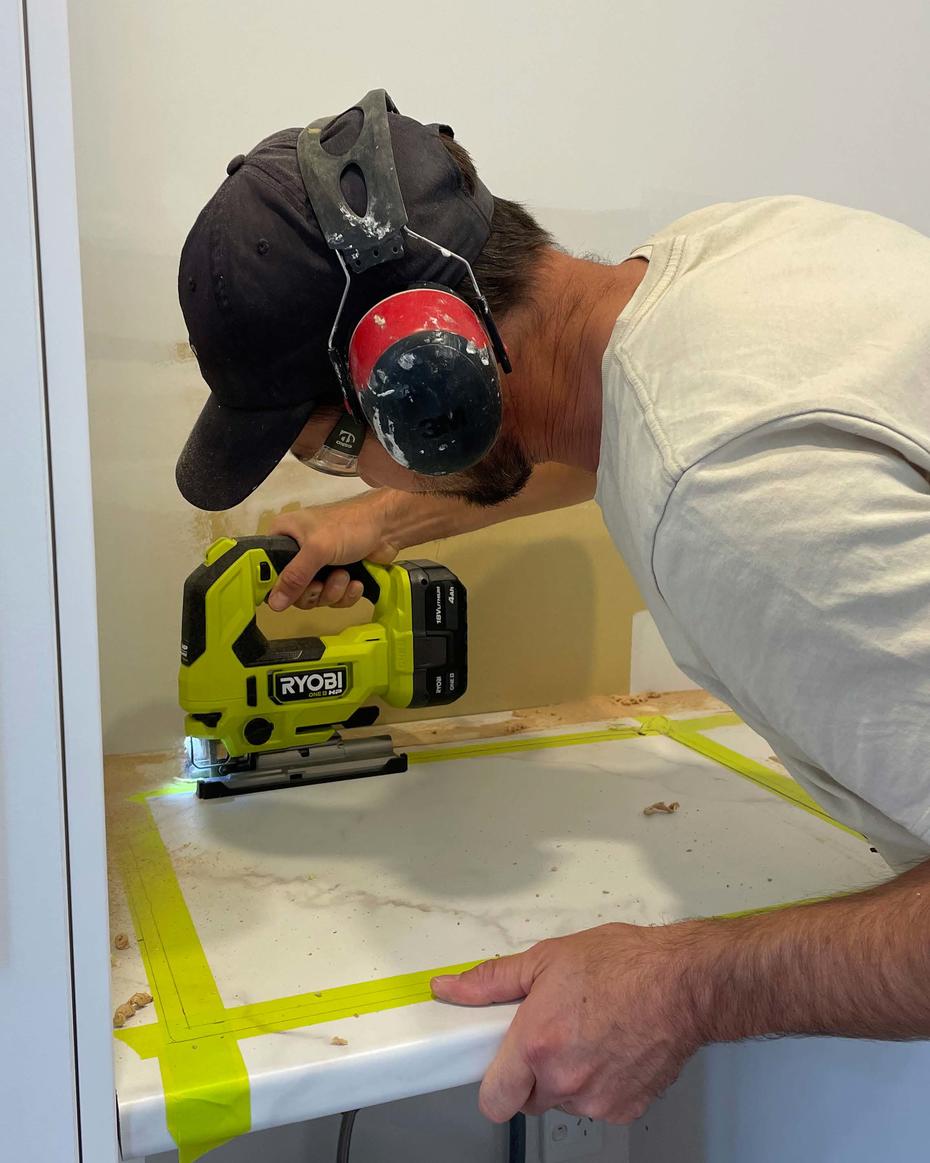
Step 7: Following your lines, cut out the sink hole.
TIP: Take your time so you can accurately follow your line.
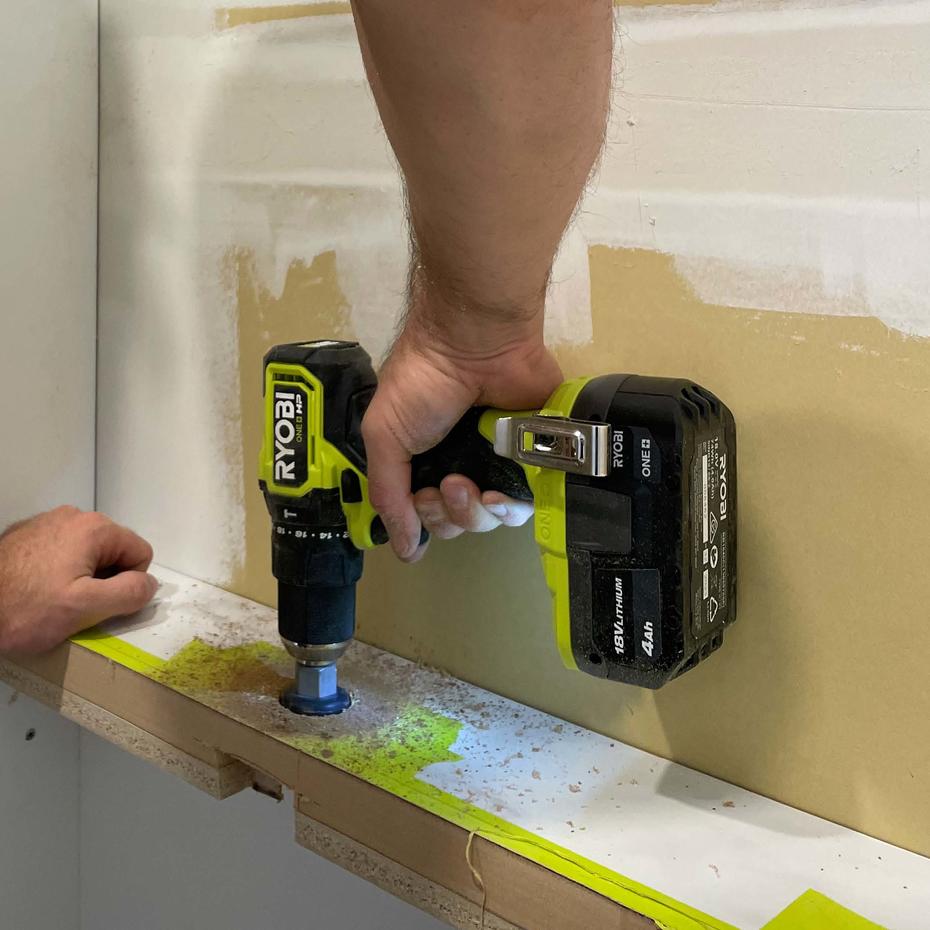
Step 8: Mark your tap position (if it’s not in your sink) and use your drill with a hole saw attachment to cut through the benchtop and cabinetry.
TIP: Put masking tape on the surface before cutting help avoid scratches or chipping.
Step 9: Remove your masking tape, don’t forget to cut out a notch for the sink’s overflow connection and apply a bead of silicone around the cut out. Now, drop your sink into position – make sure it’s square and clean up excess silicone with dishwashing liquid or a product like Spray and Wipe and a silicone tool.
Step 10: Tap and waste connection can now be installed by a licensed plumber.
Looking for inspiration, tips and ideas? Create a home that reflects your unique personality and taste.


.png?crop=yes&k=c&w=690&h=690&itok=XNeI_VJt)